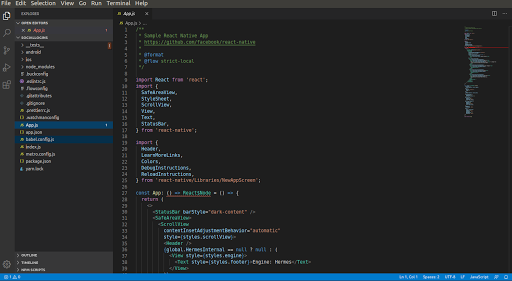
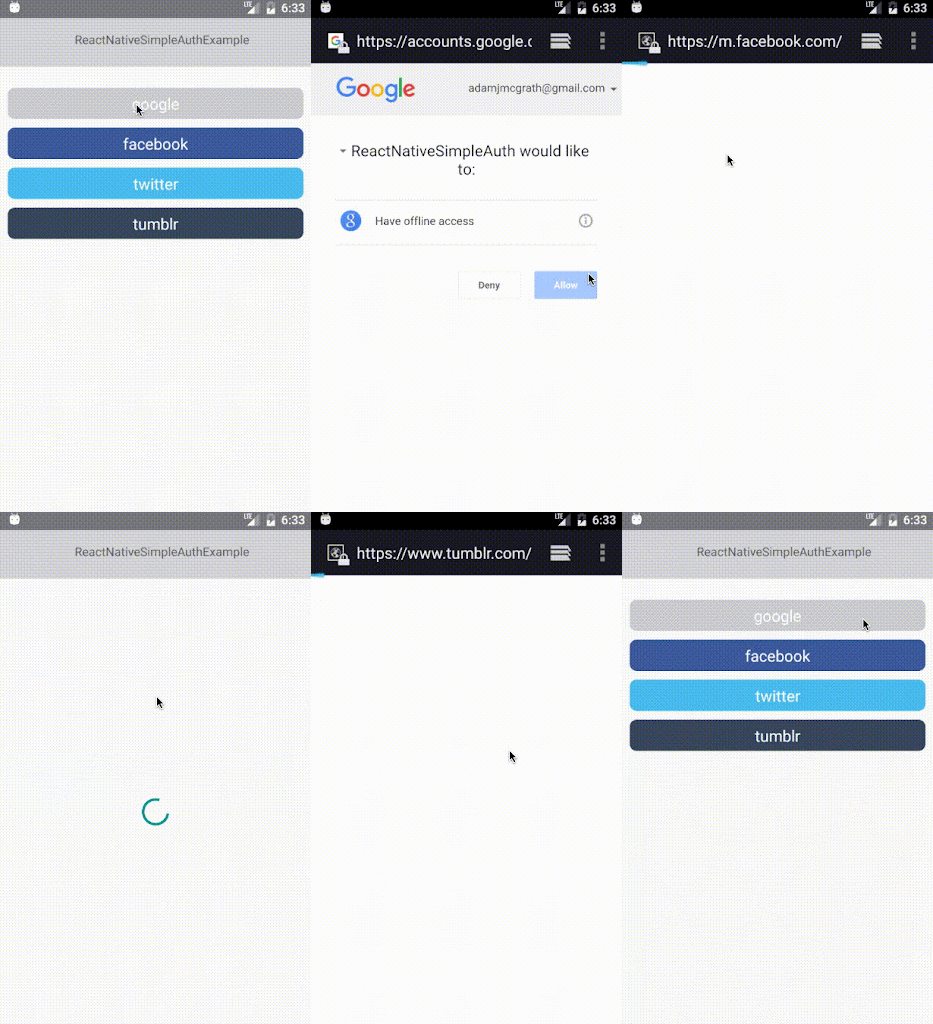
React Native Integration: I have already created a fresh project. you can use this in your app or can create a new project. You can easily create a new app, you can catch a tutorial for React Native App set up on our previous blog

React Native Integration And Installation
You can install this using two ways:
1) yarn add react-native-simple-auth
2) npm install react-native-simple-auth –save

After Installation of the above package, we need to set up the deep linking for Android and IOS application using this instruction
In Android for deep linking, we need to add the Intent Filters in AndroidManifest.xml. we need to set up the launch mode of MainActivity to a single task in AndroidManifest.xml.

For IOS we need to create deep link schemes in the provider setup. This we will learn more in Providers Setups. and the last step in Installation is to set up the OAuth Providers.
Providers Setup
Google Setup
React Native integration for Google can be done easily but first, you need to create a basic react native app.
Go to the developer console and create credentials for an iOS application (you can also use these for your Android app). More instructions on the Google support site.
We need to go to the google developer console and have to create the credentials for and android and iOS applications. For setting up OAuth 2.0 in the google developer console you need to follow the steps. To use OAuth 2.0 in your application, you need an OAuth 2.0 client ID, which your application uses when requesting an OAuth 2.0 access token.
To create an OAuth 2.0 client ID in the console:
1) Go to the Google Cloud Platform Console.
2) From the projects list, select a project or create a new one.
3) If the APIs & services page isn’t already open, open the console left side menu and select APIs & services.
4) On the left, click Credentials.
5) Click New Credentials, then select OAuth client ID.
Note: If you’re unsure whether OAuth 2.0 is appropriate for your project, select Help me choose and follow the instructions to pick the right credentials.
6) Select the appropriate application type for your project and enter any additional information required. Application types are described in more detail in the following sections.
7) If this is your first time creating a client ID, you can also configure your consent screen by clicking the Consent Screen. (The following procedure explains how to set up the Consent screen.) You won’t be prompted to configure the consent screen after you do it the first time.
8) Click Create client ID
To delete a client ID, go to the Credentials page, check the box next to the ID, and then click Delete.
The “Bundle ID” should contain a dot, eg com.sociallogins
Your configuration object should contain the ‘Client ID’ as appId and ‘Bundle ID’ in the callback (note the single /, you can put anything as the path), eg
{
“appId”: “123-123abc.apps.googleusercontent.com”,
“callback”: “com.sociallogins:/oauth2redirect”
}
Add the deep link scheme for the callback (Your Bundle ID, eg com.sociallogins) to your AndroidManifest.xml eg
<intent-filter>
<actionandroid:name=”android.intent.action.VIEW”/>
<categoryandroid:name=”android.intent.category.DEFAULT”/>
<categoryandroid:name=”android.intent.category.BROWSABLE”/>
<dataandroid:scheme=”com.sociallogins”/>
</intent-filter>
Add the deep link scheme for the callback to your iOS app.
Here the google API login setup is completed now we go for Facebook Login API Setup.
Facebook Setup
React Native integration for Facebook can be done easily but first you need to create a basic react native app.
Please follow the steps of Tutorial For React Native App Setup
Here is the overview
Create an app on the Facebook developers website
In Settings, click Add Platform
Select iOS, and in the Bundle ID field, add fb{your App ID} eg fb1234567890 (You can use the same configuration for Android)
Your configuration object should contain the ‘Appid ID’ as appId and ‘Bundle ID’ in the callback (you must put ://authorize), eg
{
“appId”: “1234567890”,
“callback”: “fb1234567890://authorize”,
“scope”: “user_friends”, // you can override the default scope here
“fields”: [“email”, “first_name”, “last_name”] // you can override the default fields here
}
Add the deep link scheme for the callback (Your Bundle ID, eg fb1234567890) to your AndroidManifest.xml eg
<intent-filter>
<actionandroid:name=”android.intent.action.VIEW”/>
<categoryandroid:name=”android.intent.category.DEFAULT”/>
<categoryandroid:name=”android.intent.category.BROWSABLE”/>
<dataandroid:scheme=”fb1234567890″/>
</intent-filter>
Add the deep link scheme for the callback to your iOS app (Due to A Facebook bug, this should always be the top one in the list).
Here the Facebook API login setup is completed now we go for Twitter Login API Setup.
Twitter Setup
React Native integration for Twitter can be done easily but first you need to create a basic react native app.
Create an app on https://apps.twitter.com
You can put any valid URL as the callback URL.
Your configuration object should contain the ‘Consumer Key (API Key)’ as appId, the ‘Consumer Secret’ as appSecret, and the Twitter App name in the callback, eg
{
“appId”: “abc1234567890”,
“appSecret”: “cba0987654321”,
“callback”: “testapp://authorize”,
}
Add the deep link scheme for the callback (Your App Name, eg testapp) to your AndroidManifest.xml.
Add the deep link scheme for the callback to your iOS app
Main Usage
Create a configuration object for each of the providers you want to authorize (required keys are in parenthesis):
- Google (appId, callback)
- Facebook (appId, callback)
- Twitter (appId, appSecret, callback)
Add import in your file (Here is the Google API call example)
import { google, facebook, twitter } from’react-native-simple-auth’;
google({
appId:’123-123abc.apps.googleusercontent.com’,
callback:’com.sociallogins:/oauth2redirect’,
}).then((info) => {
// info.user – user details from the provider
// info.credentials – tokens from the provider
}).catch((error) => {
// error.code
// error.description
});
After using
