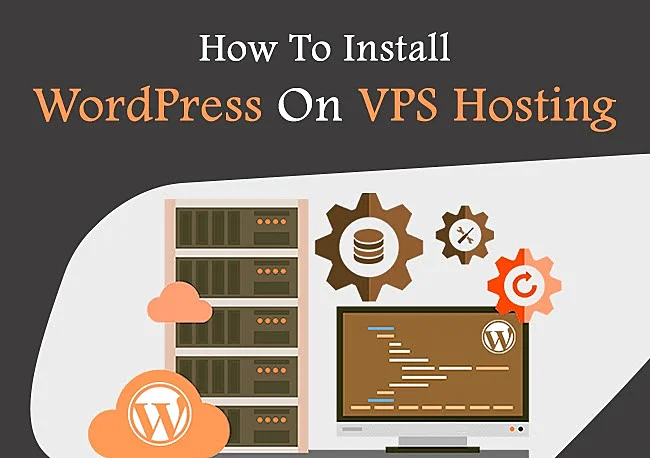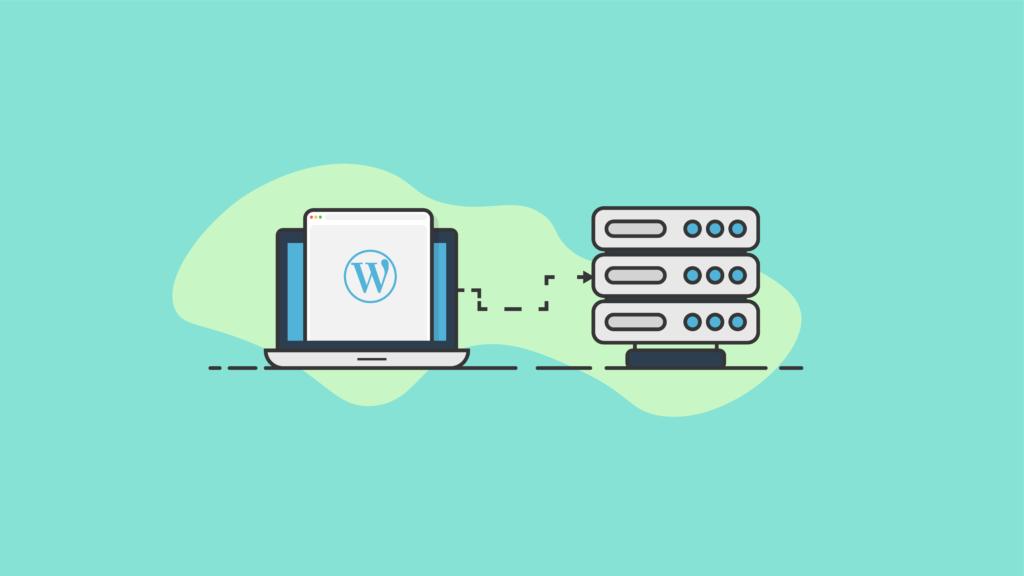
How To Install WordPress On VPS Hosting: One of the popular ways to create a WordPress website is by using a VPS or even a dedicated server for it. There are times when you don’t want to use shared hosting. If you are planning to create a website for yourself or for your business then there are many reasons why you would go for VPS hosting. If you are thinking about setting up WordPress on VPS hosting then this guide will help you in creating your own website.
- Steps For How To Install WordPress On VPS Hosting
- An Overview For How to Install WordPress On VPS Hosting Manually
- An Overview For How to Install WordPress On VPS Hosting Automatically
- Detailed Steps On How to Install WordPress On VPS Hosting Automatically
- Step 1: Set Up A VPS Hosting Account
- Step 2: Log Into Your VPS
- Step 3: Adjust Your Server’s, Time Zone
- Step 4: Create A Database For WordPress
- Step 5: Create MySQL User And Password
- Step 6: Modify The WordPress Configuration File
- Step 7: Install WordPress On VPS
- Step 9: Complete The Install Process By Clicking the “Install WordPress” Button
- If you follow the steps, you can install WordPress on VPS in a short time.
Steps For How To Install WordPress On VPS Hosting

Installing WordPress on your virtual private server (VPS) is one of the most important things you will do. When you install WordPress you are creating your site. You are publishing your content and it is the heart and soul of your website. You need to install WordPress on your VPS the right way. I will show you 9 easy steps to install WordPress on your VPS. This is another step toward creating WordPress Website.
An Overview For How to Install WordPress On VPS Hosting Manually
- Set Up A VPS Hosting Account
- Log Into Your VPS
- Adjust Your Server’s, Time Zone
- Download the WordPress
- Upload WordPress to your VPS
- Move the WordPress files to the Root
- Create a New Database
- Create MySQL User And Password
- Edit the wp-config-sample.php File
- Install WordPress
- FAQ
- 4.1 Can I use WordPress on a VPS?
- 4.2 What is the best way for installing WordPress on a VPS?
- 4.3 Can I install WordPress on my VPS by myself?
- 4.4 Do I need a cPanel VPS for installing WordPress?
An Overview For How to Install WordPress On VPS Hosting Automatically
- Log on to your cPanel account.
- Locate Softaculous apps Installer.
- Choose a protocol and a domain name.
- Fill out details of your WordPress website.
- Choose plugins and a theme.
- Assess the performance of the installation.
Detailed Steps On How to Install WordPress On VPS Hosting Automatically
Step 1: Set Up A VPS Hosting Account
The first step in how to install WordPress on VPS hosting is setting up an account. A virtual private server (VPS) is a type of hosting that gives you the flexibility and power of shared hosting, but with increased security and control over the resources available to your website.
The best part about choosing VPS hosting over shared hosting? You get all the benefits of managed IT services with none of the headaches! With a VPS provider, everything will be taken care of so all you have to worry about is designing beautiful pages on WordPress, uploading images, and writing content—and that’s just what we’ve been doing so far!
Step 2: Log Into Your VPS
Step 2: Log Into Your VPS
Now that you’ve successfully installed WordPress, it’s time to log into your VPS. To do this, open up a terminal window on your computer and type: ssh user@your_server_name where the user is the username of your account and server_name is the name of the server (e.g., “vps-1”).
Step 3: Adjust Your Server’s, Time Zone
To adjust the time zone of your server, click on the “Time” tab. this is an important step in learning how to install WordPress on VPS hosting.
The time zone for your server should be set to either Eastern or Pacific Standard Time (the US). If you’re in another country and want to change it, follow these steps:
- Click on “Time” in the left-hand menu.
- On this page, select “Change Time Zone.”
- In the next box that appears below it, select your desired time zone from those listed on this page (for example: Central Standard Time or Eastern Daylight Saving Time).
Step 4: Create A Database For WordPress

To create a database for your WordPress installation, you’ll need to log into your VPS provider’s control panel. Once there, click on “Databases” and then “Create Database.”
Next, enter the name of the new database (this is what will be listed in WordPress’ admin area) and choose whether it should be disabled or enabled for all users. Make sure you choose either “Create New” or “Import from File” before clicking Next. Fill out this form as best as possible with regards to its settings; paying close attention to any security options that might need adjusting later down the line!
Step 5: Create MySQL User And Password
Now that you’ve created a database, it’s time to create a user and password for that database. If you are hosting on VPS hosting, this is done by entering the following command:
mysql -u root -p
Enter ‘Y’ for yes or ‘N’ for no. You will be prompted again with this question if you enter an invalid value:
Enter your MySQL server hostname (localhost) followed by user and password:
Enter or paste in the following line of code: mysql> GRANT ALL ON wordpress_db.* TO wordpress_user@localhost IDENTIFIED BY ‘wordpress_user’;
Step 6: Modify The WordPress Configuration File
Now that you’ve installed WordPress and set it up, it’s time to modify the wp-config.php file so that your server will be able to connect to the database.
To do this:
- Open up the text editor of your choice (I recommend Notepad++)
- Type in or copy/paste the following code into your editor:
- <?php define( ‘DB_NAME’, ‘dbname’ ); define(‘DB_USER’, ‘username’); define(‘DB_PASSWORD’, ‘password’); function mysql_connect($hostname, $username, $password) { if (!mysql_connect($hostname,’localhost’,’username’,’password’)) { die(“Could not connect: ” . mysql_error()); } return true; } function query($command) { switch ($command) { case “create”: create table IF NOT EXISTS `wp_posts` ( `ID` int(11) NOT NULL AUTOINCREMENT PRIMARY KEY ) ENGINE=MyISAM DEFAULT CHARSET=utf8 AUTOINCREMENT=1 ; break ; case “insert”: insert into `wp_posts` values (NULL); break ; default : // Error message goes here… break; } return false; }
Step 7: Install WordPress On VPS
The installation process is quite simple and takes a few minutes to complete.
The first step is to click on the button labeled “Install WordPress.” This will take you to a page that displays information about your current version of PHP and MySQL settings, along with instructions on how to enable them if they’re not already enabled (or if they need resetting). You can also choose between installing WordPress via SSH or FTP/SFTP; this feature allows you to access your server from another workstation or computer by using its IP address instead of its name. If there’s no internet connection available, then this option won’t be available—but if there is one, then it’ll give you access anywhere in the world where there’s an internet connection!
Step 9: Complete The Install Process By Clicking the “Install WordPress” Button
Congratulations! Your WordPress installation is now complete. You can now log into your website by clicking on the “Dashboard” tab and then clicking on the username or email address associated with your site.
If you follow the steps, you can install WordPress on VPS in a short time.
If you follow the steps, you can install WordPress on VPS in a short time.
It is important to follow the steps because if you don’t follow them then it will not work.
Conclusion
A VPS or a Virtual Private Server is a virtual machine that runs on a physical server. It is a virtualized version of a dedicated server. VPS hosting is often preferred by people who want to start their blog or website as it is cheaper and easier to manage than a dedicated server. There are a lot of advantages of a VPS over a physical server and hence it is being used by many people all over the world. A VPS hosting allows its clients to have complete access to the server and hence you can install WordPress on VPS hosting without any issues.
