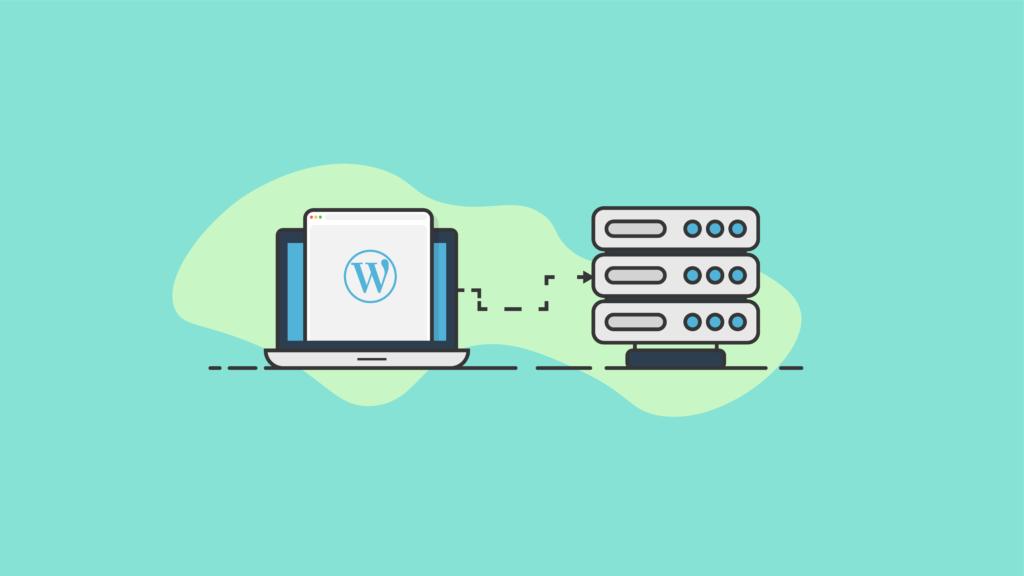
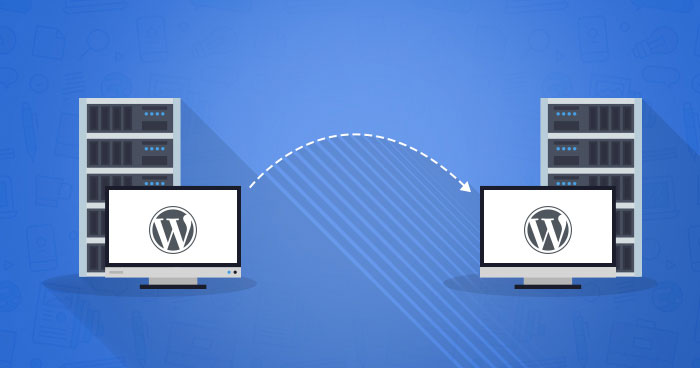
How To Transfer WordPress Site To New Host: If your WordPress site is hosted on one of the major hosting services, like Bluehost or GoDaddy, and you want to move it to a new host, you can do so. However, it’s not as simple as just changing your domain name – there are several steps involved in transferring your site from one server to another. In this article I will explain how you can transfer a WordPress website from one host to another.
- How To Transfer WordPress Site To New Host
- How To Get Started.
- Let’s dive into the details of How To Transfer WordPress Site To a New Host
- Step 1 – Back Up Your Website Content
- Step 2 – Export Your Database File
- Step 3 – Create A New Database On Your New Hosting Account
- Step 4 – Change Your Domain Name Server (DNS) Settings
- Step 5 – Upload Your Database File And Website Content To The New Server
- Step 6 – Import MySQL Database File To The New Server
- You can definitely do this, but be prepared for some technical difficulties along the way!
- Conclusion
How To Transfer WordPress Site To New Host

- Make sure you have a backup of your site. This is the most important step, and one that should be done before moving your site to a new host. The easiest way to do this is by using an automated plugin like BackWPup or UpdraftPlus. These plugins will create daily backups of all files and database, which will allow you to restore your site if anything goes wrong with it after moving it to the new server.
- You can also make manual backups using FTP access or cPanel (which comes with most hosting plans), but this isn’t recommended unless you know exactly how everything works and what steps need to be taken in order for things not to go wrong later on down the road when restoring from one type of backup over another type (for example: restoring from cPanel).
- Make sure you have a backup of your database too! While WordPress does automatically keep track of changes made every time someone visits their blog, sometimes things happen unexpectedly that cause some damage here or there – especially if they don’t use plugins with regular updates due cost reasons (this could include anyone who doesn’t pay extra money each month just so they can update when needed).
- There are many different ways people might lose data within their blogs including deleting posts accidentally before saving them first; deleting comments accidentally before approving them first; changing permissions incorrectly during the installation process where more than one user needs access at once etc.. Whatever happens though during normal usage there’s always going
These are some pointers to keep in mind while getting to know How to transfer WordPress site to new host.
How To Get Started.
To begin the process, you must have a backup of your WordPress database and files. This is extremely important! If you don’t already have a backup, it is highly recommended that you create one before moving your site. This can be done by going to Tools > Export in the WordPress dashboard. WordPress Managed hosting services is a really good option to start with. How To Transfer WordPress Site To New Host without losing yur data the answer is to take backup of your website.
After creating a backup of your site, log into your old hosting account and look for “Transfer/Migration” under cPanel options (if available).
Select this option and follow their instructions carefully. In my case, I had to go through three steps: export my database from Bluehost, upload it on SiteGround servers using SFTP client (SFTP stands for Secure File Transfer Protocol), then import my database there using cPanel’s Import tool after connecting back into cPanel with SiteGround credentials.
Let’s dive into the details of How To Transfer WordPress Site To a New Host
Transferring your WordPress site to another hosting provider is a great way to ensure that you have access to the latest and greatest features and technologies. It can also be a good way to move from one web host that no longer meets your needs, or if you’re building out an extensive eCommerce store and want to switch from shared hosting to dedicated server hosting.
But before you get started with uploading your website content, database files and all those other important elements of your site, there are some important steps that must be taken first:
- Back up all of the data on your existing server including database tables, images and any other files used by WordPress (i.e., theme files).
- Export the MySQL database file from within cPanel or Plesk if using shared hosting (or other control panel) as these provide access rights necessary for exporting this file). Once you have done your preliminary steps for how to transfer WordPress site to new host than you can start by taking back up of your database.
Step 1 – Back Up Your Website Content

The first step to transferring your WordPress site to a new host is backing up your website content.
This is important for a few reasons:
- You don’t want to lose any of the work you’ve done on your site since it was last backed up.
- If something goes wrong during the transfer process (and it can happen), there’s a good chance that whatever caused the problem will also affect other parts of the process, including backups. It’s better to be safe than sorry when it comes to this stuff!
Here’s what you need to know before getting started:
- All versions of WordPress have built-in tools that make backing up easy, but if yours doesn’t then there are third-party plugins that do as well. We’ll stick with inbuilt methods because they’re easier and more effective anyway! Taking backup is important in learning How To Transfer WordPress Site To New Host.
Step 2 – Export Your Database File
The second step is to export your WordPress database.
You can do this by going to Tools > Import in your WordPress dashboard.
In the resulting window, click on the “Export” tab and choose “SQL file” from there. It will automatically create a .sql file with all of your data which you can then transfer to another server or host later on.
If you are unable to find that option within WordPress, it may mean two things: either you haven’t installed any plugins yet or you don’t have enough permissions on your website (i.e., it’s shared with other people). If that’s the case, try asking someone else who has access to help you out with exporting these files!
This step is very important and must be done carefully for How To Transfer WordPress Site To New Host.
Step 3 – Create A New Database On Your New Hosting Account
- Now that you have your new site and it’s ready to go, it’s time to create a new database on your new hosting account. The database name should be the same as the one used on your old host, but the username and password will need to be different.
To do this:
- Log into cPanel for your new hosting account (you can log into cPanel using an email address/username or via FTP).
- Click Databases > Create Database
- Enter in values for Username, Password (that is different from the original), Hostname, Collation/Character Set, Engine Type and Template Table Prefix (we will leave these alone). Then click Create Database button at bottom of page.
Step 4 – Change Your Domain Name Server (DNS) Settings
Now that you have transferred your website to a new host, you will need to change your domain name server settings. This is necessary because this information must match the new host’s DNS settings in order for your domain name to point at the correct IP address.
The easiest way to do this is by following these steps:
- Log into your cPanel account with your new hosting provider. You can find it by going through the “cPanel” link on their main menu or by searching “cPanel” in Google/Bing/etc.
- Once logged in, click on Domains > Domain Name Servers (DNS). If you don’t see this option, then try looking under either Advanced Features or Tools & Utilities instead.
- Click on Add New Record Type if it isn’t already selected and click Create Record Type icon next to it (looks like an asterisk).
Step 5 – Upload Your Database File And Website Content To The New Server
Now you are ready to upload your database file and website content to the new server.
- Upload the database file. To upload a WordPress database from one server to another, you will need to first download the latest version of phpMyAdmin by clicking here and then uploading it to your new host account via FTP.
- Upload all of your website content (including images) via FTP or cPanel File Manager as well. Make sure that every byte of data is transferred: not only does this include posts, pages, plugins and themes but also images embedded in your posts like those used for featured images or social media icons.
- If you have used a custom domain name with your old hosting provider then make sure that the DNS settings have been updated so that when users access their browser they land on the correct IP address rather than something like localhost which can cause security issues if left unchanged!
Step 6 – Import MySQL Database File To The New Server

You will then be asked to import the database file. Click on the “Upload File” button, browse and select your database file, and click “Upload File”. The import process will begin immediately.
After uploading the file, you will be asked to choose a table prefix for your new database tables. This is how WordPress identifies each table in your database so make sure you use a unique name that won’t change if you decide to move again later on down the road!
The default setting of wp_ is generally what most people stick with but if you’re setting up multiple sites or are hosting more than one website at once on the same server (like we talked about earlier), it’s important that these two databases don’t overlap with each other because otherwise they’ll interfere with each other’s operation which could cause all sorts of problems including lost data or even worse yet – hacked websites!
Once this step has been completed successfully then we can move onto importing our files into their respective folders by following steps 7 through 10 below:
You can definitely do this, but be prepared for some technical difficulties along the way!
- You can definitely do this, but be prepared for some technical difficulties along the way!
- If you haven’t worked with web hosting before and know a little bit about PHP and MySQL databases, then learning how to transfer WordPress from one host to another might seem like an impossible task. The good news is that it’s not as hard as you might think. However, there are definitely some things to consider before deciding whether or not this is something that you want or need to do:
Conclusion
If you’re not comfortable with the technical side of things and want to hire a professional to handle your migration, there are plenty of options available. I recommend checking out WP Migrate or A2 Hosting’s Migration services. Another great option is GoDaddy Pro, which offers a one-click WordPress import feature that makes transferring your site much easier than doing it yourself. To learn How To Transfer WordPress Site To New Host is very important step if you are creating a website using WordPress.
